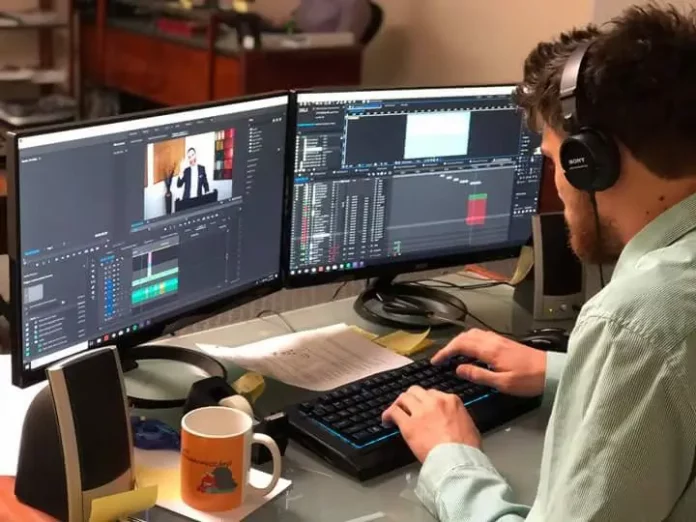
Videos are becoming more popular as they provide a simple yet efficient approach to communicating a message. As a result, marketers, YouTubers, and gamers are actively producing and distributing “how-to” films, which contain marketing material or demonstrations.
However, in order for your video to effectively communicate its message, you must ensure that it is correctly edited. One of the consequences of the technological revolution is that we now have more technology than most of us know how to use!
That goes for online video editing on your computer. I’m willing to bet you have all of the gizmos and devices you’ll need to turn the unprocessed family film into something more polished.
So, in this article, I’ll teach you how to turn video footage into video gold on your Windows PC, step by step.
1. Uploading Media to Your Computer
Make a decision on what you’d like to include in your video. Video footage, photos, music, and audio are all options. (Narration can also be added.)
Then, to bring it into your project, use the Import function. If you already have files on your computer, go to Import the videos/pictures/audio or music, find the file, and relax!
If the video is stored in your camera, you’ll need to connect it to your computer. You might have to dig through the packing of your old video camera to discover the cord or the installation CD. (Tip: The appropriate cable or connector can solve a variety of technological issues.)
2. Prepare an initial cut of your video
So it is time to get down to action! It’s time to arrange your assets in the order you want them to appear in your film now that they’ve been imported into your project.
Choose an “asset” (technical jargon for a video, photo, or music track) from your Imported Media (C) window, then drag it over to the Timeline or Storyboard (E). It’s all about dragging and dropping!
You assemble your material in the Timeline/Storyboard the same way you would in a comic. After you’ve placed one object, move on to the next.
And, if you want to see how your film will look once all of the elements are in place, simply press the Preview Screen (D) play button.
You did an excellent job! You’ve just finished editing a “rough cut” of your film on your own computer. Continue reading now!
3. Video Size Adjustment
Make sure you’re up at the timeline (click the little down triangle if you are on Storyboard view). Then select your video. At each end of the clip, two arrows emerge. To shorten your video from the beginning to the finish, drag the arrows inward.
You can easily split a video into segments by dragging it to the Preview Screen, playing the segment you want, and then using the “Split” button. This results in the creation of a new clip.
4. Transitions, titles, and special effects
These effects are really easy to implement. Simply select Edit from the menu bar and follow the directions. When using an online video editor on a PC, you can use effects like “vintage film,” “sepia,” “mirror effects,” and so on. (To make a slide presentation, simply drag and drop your photographs into the “Timeline/Storyboard” and use “Effects” to pan through them.
You’ve just finished editing a video on your computer
Wow! You’ve just finished editing your first movie on your computer! The next step is to select how you want to watch your video. You might even edit a video or film that you or someone else in your family has already shot. Transferring your 8mm, Hi8 video, or VHS cassettes to DVD—or, better yet, a hard drive—allows you to turn those old home movies into a family documentary using your newly acquired editing abilities.


